Are you considering downsizing your home but worried about the limited budget and potential challenges? Pauline Millar’s journey in Belfast is a testament to what can be achieved with determination and creative thinking. In this article, we will dive into her downsizing project, exploring the decisions, innovations, and considerations that turned a 1960s semi-detached house into a functional, stylish, and budget-friendly family home. Discover how Pauline transformed her property, and gain insights into the practical aspects of downsizing while maintaining resale value.
The Decision to Downsize
“We bought our family home 19 years ago, but with the children grown up and away, we had many rooms not being used. The property also needed some modernisation, and we had a very large garden,” says Pauline.
“We were ready to move on with our lives. The work or garden didn’t frighten us; it was the property that was just too big, so we decided to downsize.”
Pauline and her family began their journey by exploring various housing options. They considered houses that were ready to move into but soon realised that to truly make a new house their own, they would need to embark on a renovation project.
“The determining factor became the location. We were also looking for a garden with sun, car parking, and a spare bedroom for the children to visit. We eventually came across a 1960s semi-detached house; barely anything had been done to it apart from the windows.”
Pauline, with her 17 years of experience as an estate agent, knew precisely what to look for in a property. Practicality, she emphasises, is crucial for maintaining resale value.
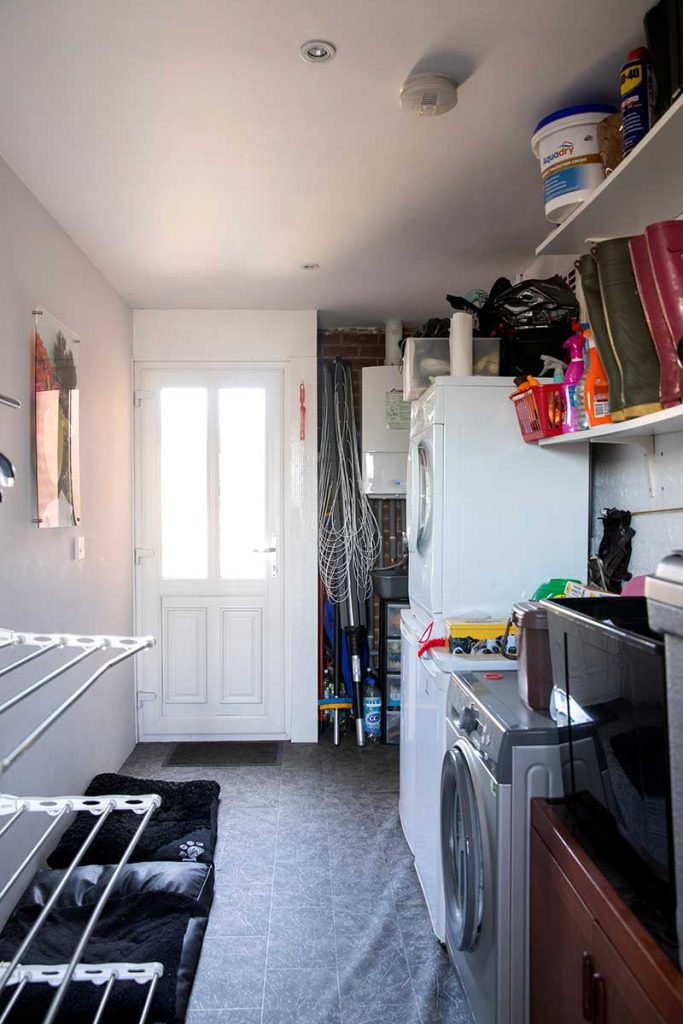
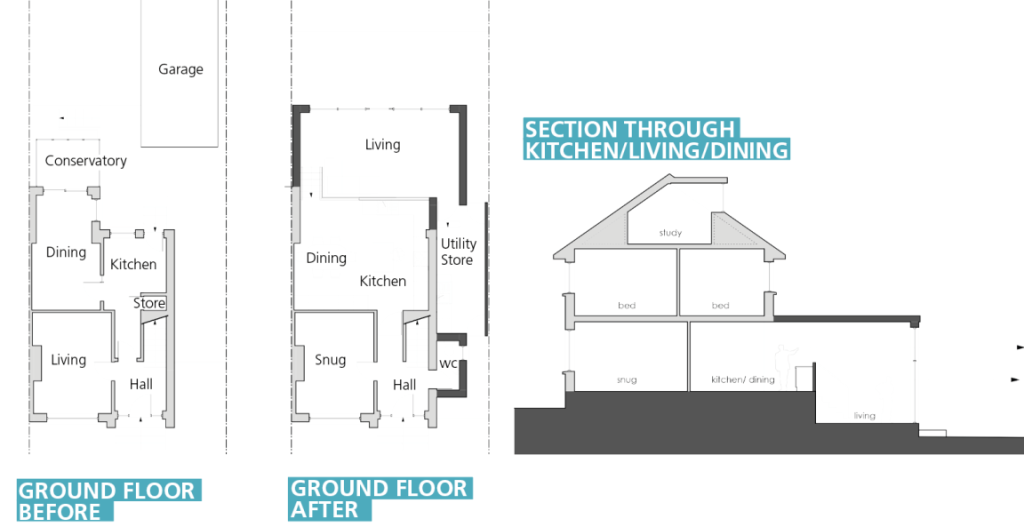
“We didn’t want a shed but needed a utility/boot room/bike storage space. So we demolished the garage in the back garden and extended to the side to create our utility room. This meant we lost access to the back garden from the side but gained so much more indoors.”
Turning Vision into Reality
Before undertaking any major renovations, Pauline and her family lived in the house for a month to get a feel for the space and assess their needs. This crucial step allowed them to identify key improvements.
“We spent considerable time observing the house and garden, identifying where natural light flooded in at different times during the day.”
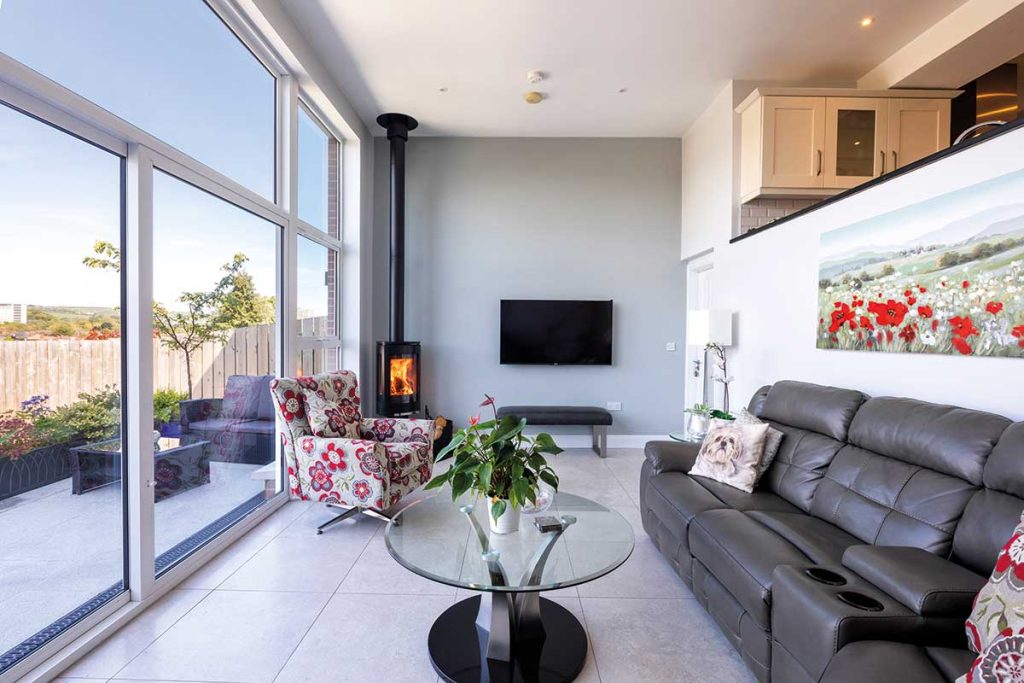
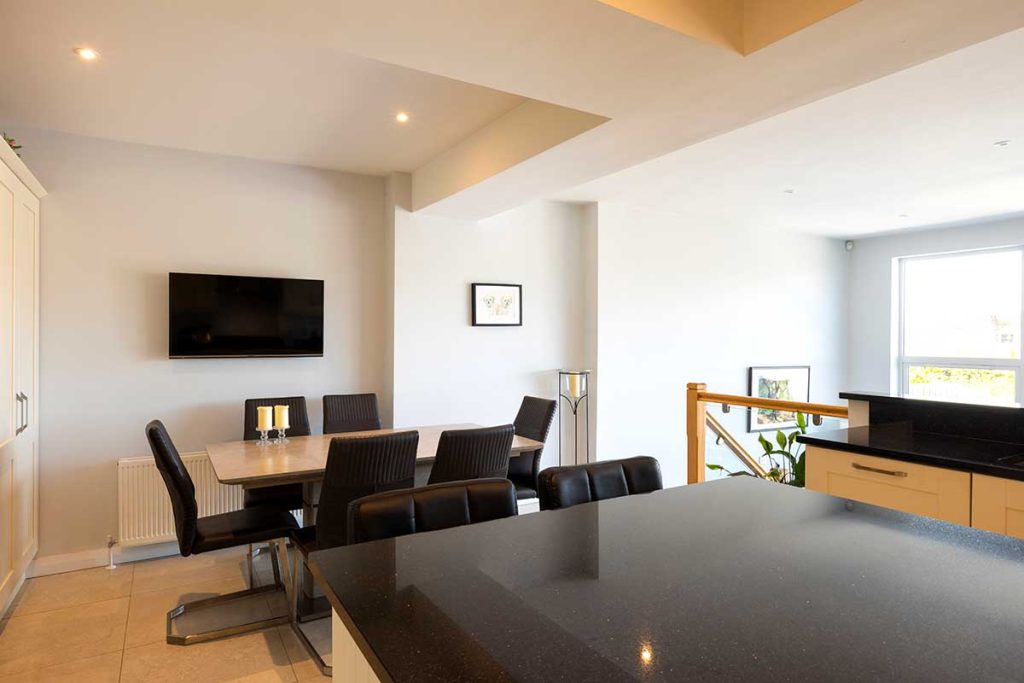
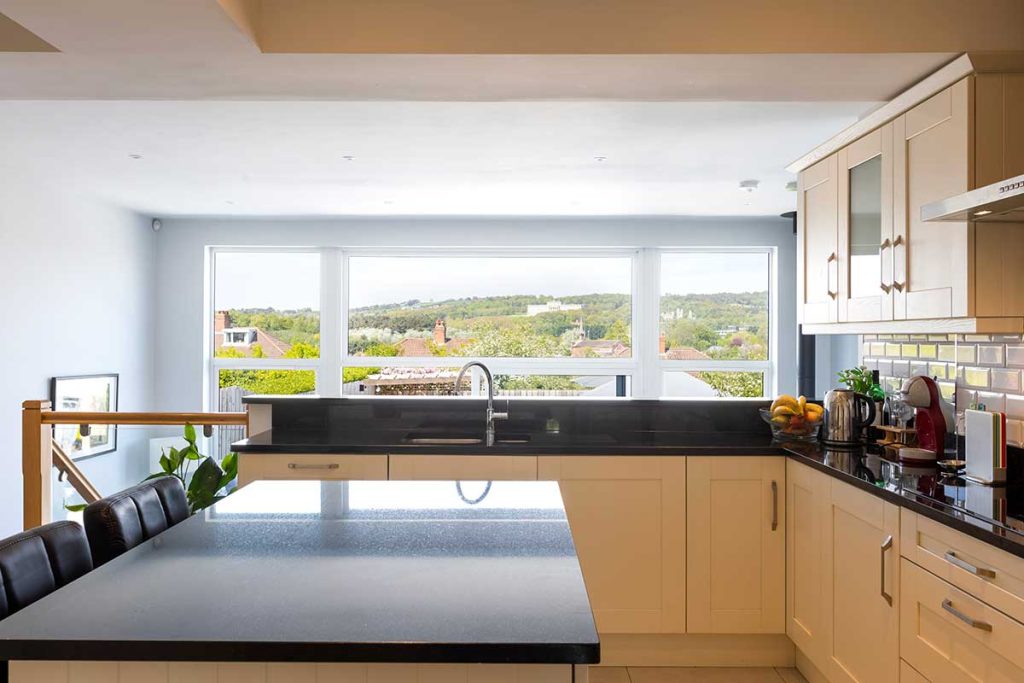
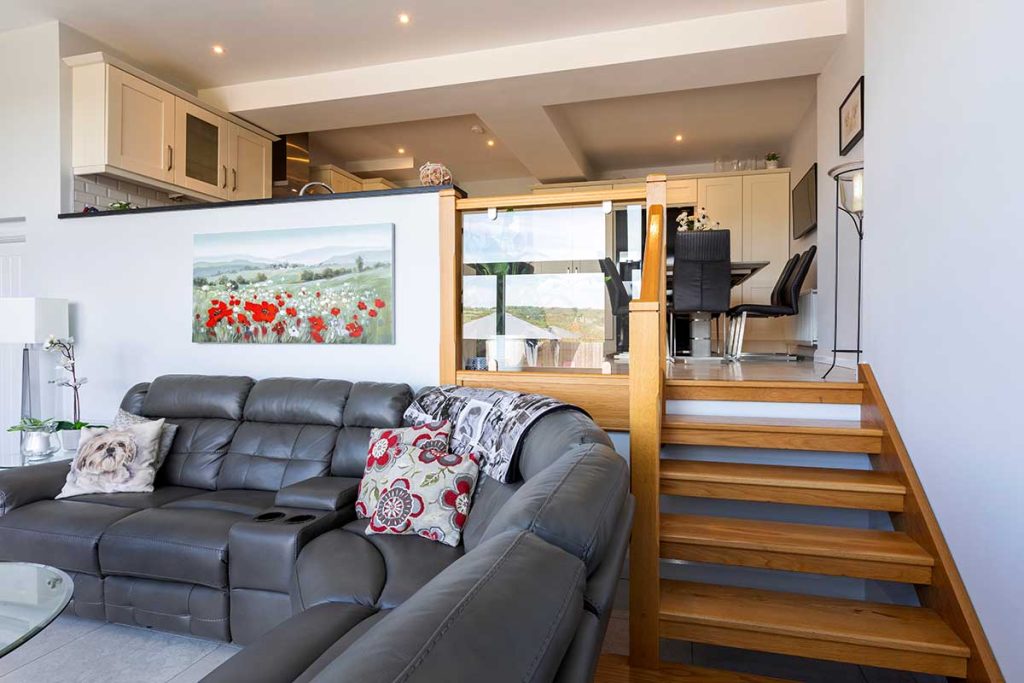
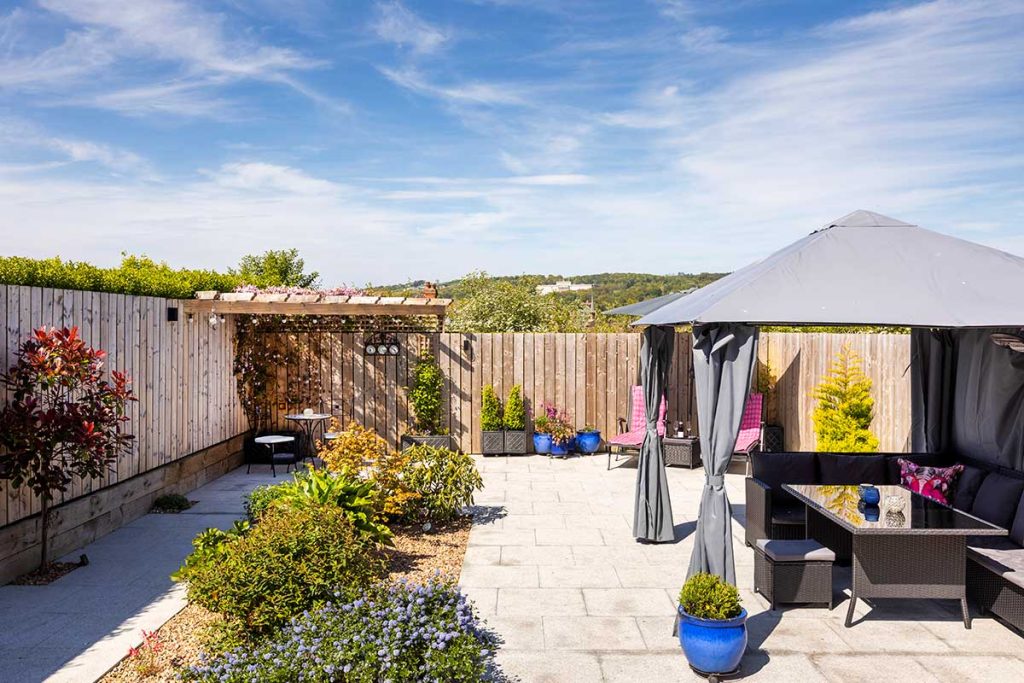
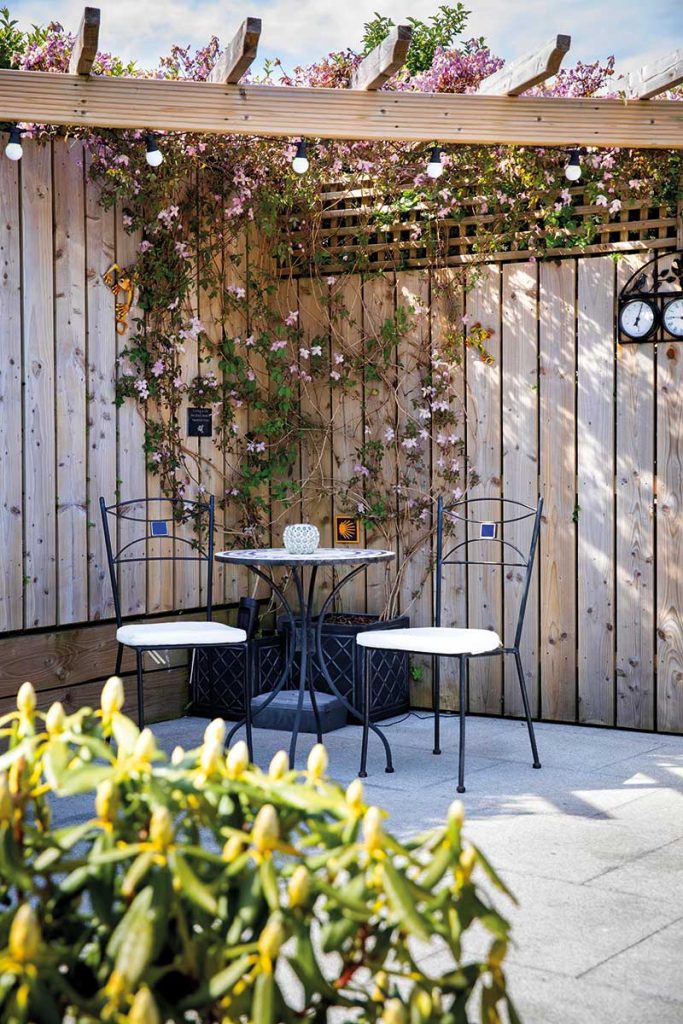
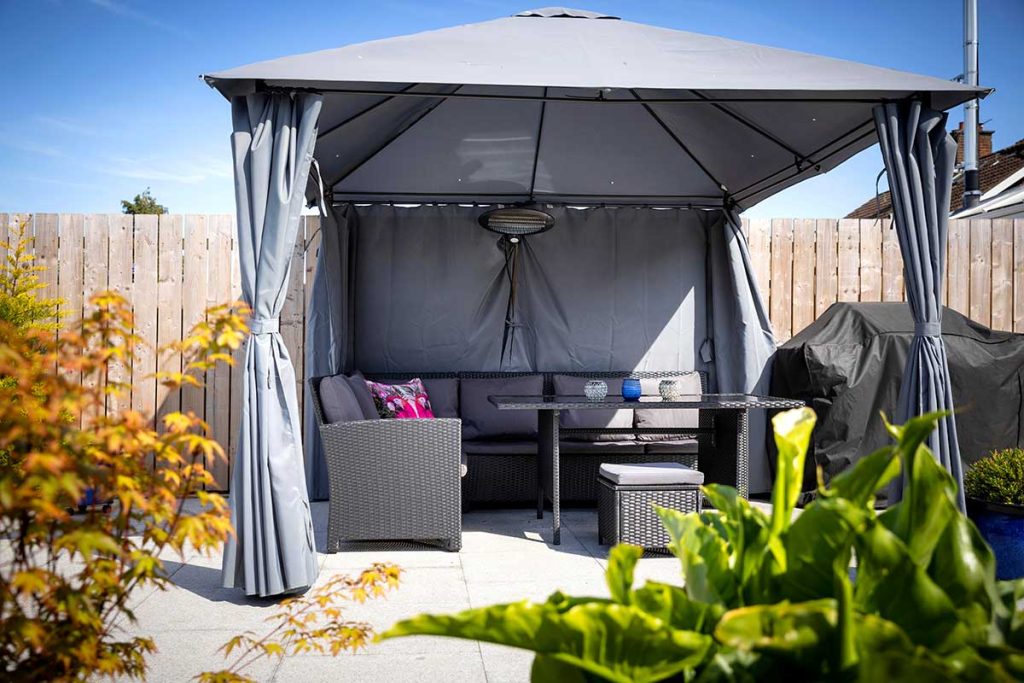
The house had a unique split-level design with five steps leading down to the bay windows. Pauline’s vision included leveling the living room with the garden and placing the kitchen on a higher level to maximise the views. As a result, the garden also became a multi-level space.

“At the weekends, we would sit out and visualise where to put the pergola and sketch out the options on paper. Because the garden is such a feature, we made sure the drainage was sunken in the flower bed.”
The careful observation of the sun’s path led to adjustments in the garden layout, ensuring that the gazebo and outdoor dining area received ample evening sun. Practical considerations, such as the placement of the washing line and outdoor lighting sockets, were meticulously planned to enhance the outdoor experience.
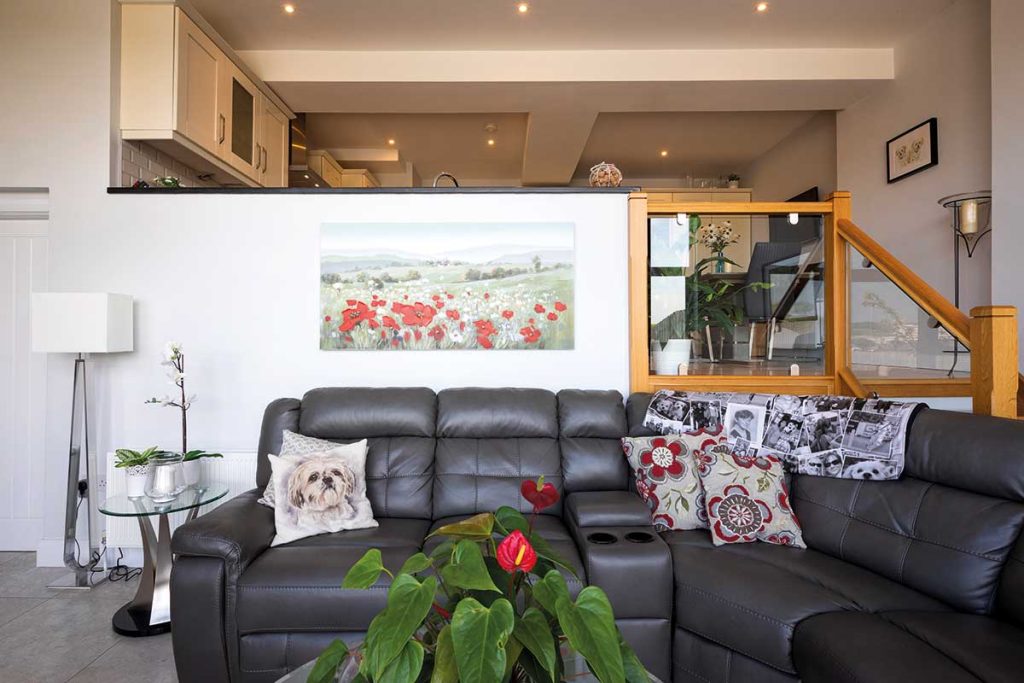
The Heart of the Home: The Kitchen
The next phase of the renovation focused on the kitchen, a vital area for any family. Pauline and her family contacted three kitchen companies for ideas and spent time in their old kitchen visualising how they would use the new one.
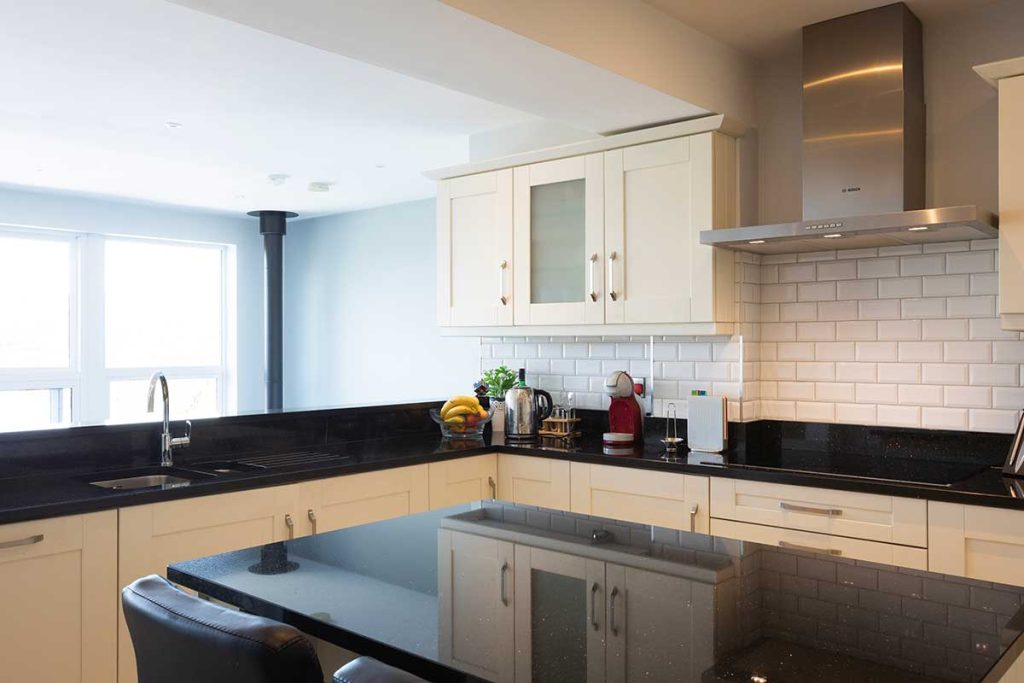
“We went with the classic triangle layout – fridge, sink, cooker – a concept I learned back in my Home Economics classes at school. ‘Keep everything where you need it and everything in its place’ is my motto!”
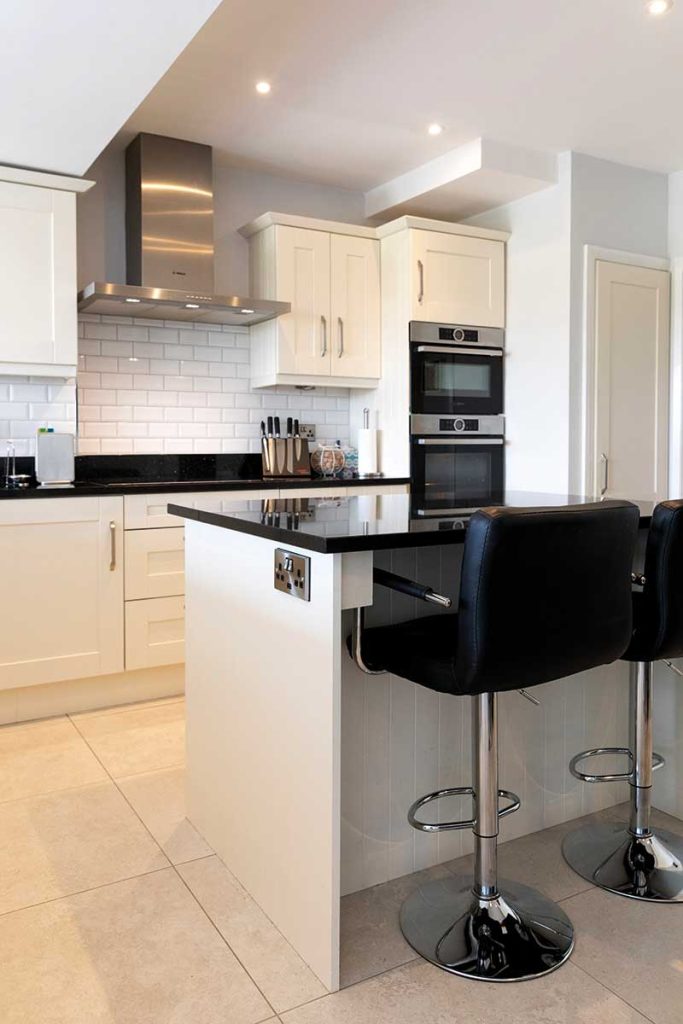
The kitchen’s island became a hub of functionality, housing everyday essentials, including cutlery, crockery, double recycle bins, and a breakfast bar. They opted for an induction hob, providing a cooking experience akin to gas.
“After the work was finished, the one minor change we made was to add shelves to one cupboard for additional storage. It’s essential to fine-tune the space according to your needs as you start using it.”
Living Through Renovation
One of the unique aspects of Pauline’s downsizing journey is that she and her family lived in the house throughout the renovation process. Moving from room to room as the work progressed, they fully experienced the transformation.
“We lived through it for five months, from June to October. During the build, we had one socket and one on-site toilet. To shower, we used our gym membership, and for cooking, we used the gas BBQ amidst the construction chaos.”
Despite the challenges, Pauline describes the experience as an exciting adventure, and the presence of her adult children during breaks from work or university added to the camaraderie during this period.
Navigating Practical Challenges
Renovating an older house often comes with unique challenges. Pauline and her family had to address wiring issues, plumbing concerns, and the installation of a new gas boiler. They made thoughtful choices to maximise the house’s functionality while maintaining its character.
“Our architect helped organise the space and ensured provision for a downstairs bathroom with a shower for future proofing. Getting the right builder was crucial; we were fortunate to have one we trusted. Building trust with your chosen builder is paramount; they must be reliable and adhere to the agreed budget.”
Pauline also shares that configuring the glass at the back of the house was a significant consideration. The large panes initially proposed by the architect were impractical to open, prompting a reconfiguration of the windows and the addition of granite window sills, creating a more functional and aesthetically pleasing space.
Maximising Space and Storage
With innovative thinking, Pauline identified opportunities to make the most of every inch of her downsized home.
“With five steps leading down to the lounge below, we realised there would be a big void under the kitchen. One day staring at it, I thought, ‘What about putting doors on it?’ The builder said we could, so we did.”
This decision led to additional storage space, with the area under the kitchen becoming a convenient storage spot for Christmas decorations. It’s a cost-effective and practical solution for keeping clutter out of sight.


Navigating Challenges with Grace
Throughout the renovation process, Pauline and her family encountered various challenges, from sourcing specialised fireproofing materials to navigating changes and compromises. However, their ability to adapt and find solutions ensured the project’s success.
“There are always problems, however small, and the compromises made are rarely going to become game-changers when you’re keeping an eye on the build along the way.”
Pauline Millar’s downsizing project in Belfast is an inspiring example of what can be achieved with a limited budget, creative thinking, and meticulous planning. Her journey showcases the importance of observing, visualising, and adapting to transform a property into a functional, stylish, and budget-friendly family home.
If you’re considering downsizing your home, Pauline’s story offers valuable insights and practical tips for navigating the process with grace and achieving a successful outcome. Remember that every challenge can be an opportunity for innovation, and with the right team and vision, you can create the home of your dreams, even on a limited budget.
Spec
Extension walls: Cavity wall construction with 100mm cavity. Outer skin 100mm thick, inner skin 100mm thick. Both skins tied together with 250 mm stainless steel wall ties at 750 ctrs horizontally and 450 ctrs vertically. Additional ties at each block course within 225 mm of openings and at corners. Top of cavity closed with 12.5mm fireboard. Cavities insulated with 60mm phenolic board.
Extension floor: 100 mm concrete screed on l000g vapour check on 100 mm EPS insulation on 175 mm concrete subfloor (with one layer of A393 mesh) as per structural engineer’s spec on 1200 gauge polyethylene membrane (as radon barrier). Barrier continued through external walls with stepped cavity tray above. All joints in membrane lapped by 300mm double sided butyl jointing tape. Barrier laid on blinding on well consolidated and blinded hardcore in layers not exceeding 200 mm. Polyurethane board with minimum R-value of 0.75m K/W behind heads, sills and jambs. Polyurethane board with minimum R-value of 0.75m K/W at the edge of screed.
Flat roof: Trocal membrane and asociated flashings on 18mm WBP ply, on tilting fillets (0 – 120mm to give minimum of 1in 80 fall) on 47x220mm C16 @400mm centres. 120 mm of phenolic insulation between rafters with 42.5 mm of insulated plasterboard fixed to the underside of rafters. 50mm ventilation gap above the insulation.
Shed walls: Stud wall sheeted on the interior with WBP plywood, 50mm phenolic board insulation between studs, and breather membrane on the exterior and clad in vertical closed boards fencing boards. Studs 50x75mm.
Structural work completed: Oct 2016
Garden completed: early summer 2017
Pauline’s downsizing tips
Plan your sockets We planned the sockets down to the last one and nothing is on show, including for the TV. To avoid extension leads we put in sockets everywhere we knew we’d need them; for feature lighting, music and cooking. We even have a plug for a speaker for music in the kitchen. The one thing we didn’t do is put USB sockets everywhere – we only have the one at the island and everyone fights over it!
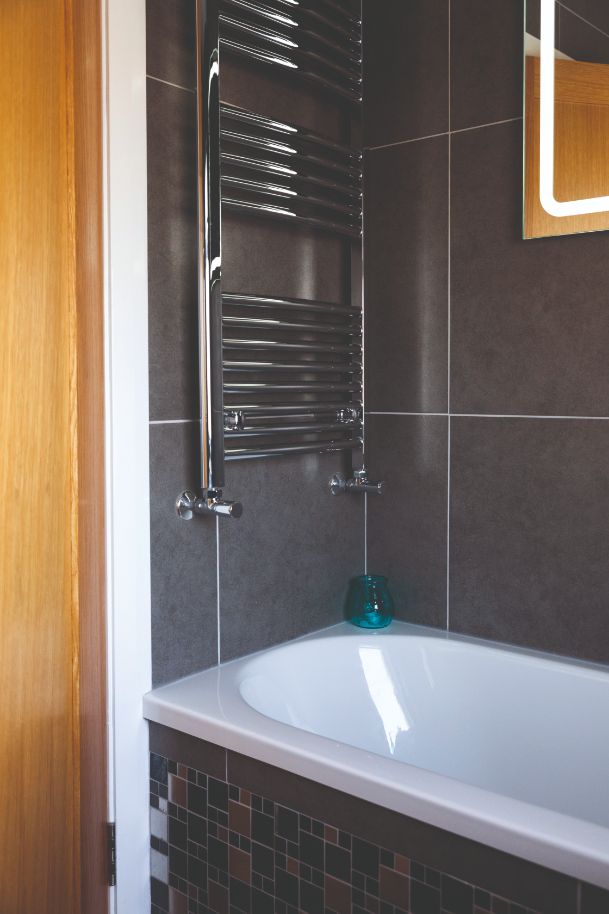
Floor to ceiling tiles When tiling a small bathroom, use the same tile floor to ceiling and join up the grout lines.
Q&A
What’s your favourite part of the house?
I love everything, the kitchen, the stove, the living area. We live at the back of the house and the garden feels like an extension. We use it so often it’s part of the house.
Would you do it again?
Yes although it was tough at times living through it. We did take breaks to stay with friends and had a short holiday – but seeing the project take shape and being part of each decision has made the home what it is today.
Any surprises?
Apart from finding an unexpected Christmas storage area, we hadn’t anticipated the need to repoint the brickwork outside the house but as we had the builders on site the cost was less than expected.
What would you change?
I can’t think of anything; the house is so easy to keep tidy and the garden is wonderful with minimal upkeep as well. All it takes to keep the paving clean is a power washing once a year.
What single piece of advice would you give a budding renovator?
Live on site and get involved in every stage; at the end of the day it is the home you will be living in, no one else.
Suppliers
Architect: Robert Gilmour Architects, Belfast, tel. 9064 9098, rgtect.co.uk
Builder: Martin Colvin, mobile 07774 841884
Insulation: Kingspan Kooltherm K8 for walls, Springvale Platinum floorshield for floor,
Kingspan Koolterm K7 between rafters and Kingspan Koolterm K18 insulated plasterboard on underside of rafters, kingspaninsulation.com
Stove: Mournes Fireplaces, mournefires.com
Carpets: Belmont furnishings, belmontfurnishings.co.uk
Kitchen appliances: E&H Services, ehservices.co.uk
Photography: Christopher Hill Photographic, scenicireland.com

